AI Sales Agents Drive Revenue, Free Teams for Key Deals Learn more
Salesforce has become one of the most popular Customer Relationship Management (CRM) platforms. It is a one-stop destination for effectively handling your business operations, including sales, customer service, marketing automation, analytics, and application development.
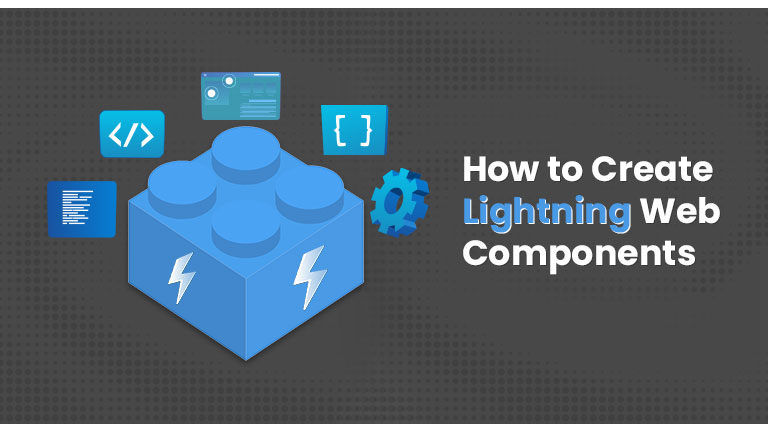
Creating single-page web applications that provide an end-to-end experience on this platform has become much more effortless after introducing Lightning Web Components on Salesforce. It offers ample benefits to the developers, users and admins.
It uses an updated web standards-based framework method for creating lightning components. Without requiring a set framework and incorporating standard techs like CSS, HTML, and updated JavaScript (particularly ECMAScript 7), Lightning Web Component eases your work. Let us now go through different requirements and steps associated with Lightning Web Components.
Pre-Requirements for creating Lightning Web Components
- You must have the minimum API version 45 of the Salesforce CLI.
- You need to have Visual Studio Code on your system.
Visual Studio Code & Extensions Setup
- Download & install the latest version of Visual Studio Code.
- Launch the Visual Studio Code, and click on the extension's icon seen on the left side of the VS code editor to add an extension.
- In the Search Box, type ‘Salesforce Extension Pack’ and install this extension. Following that, also install the Lightning Web Components extension. Re-launch the VS Code application.
- Finally, press Command + Shift + P on macOS or Ctrl + Shift + P on Windows and type sfdx to ensure your system is ready for creating Lightning Web Components.
|
|
Steps to Create Lightning Web Components
We have divided the whole process of creating Lightning Web Components into three broad subheads. Let us now dive into the detailed steps concerned with creating Lightning Web Components:
Creating SDFX Project & providing Authorisation of your org:
Step-1: Create a new folder first and then give it a name, for instance, Web Lightning.
Step-2: Access this folder through VS Code editor by clicking- File > Open > Web Lightning folder > Open
Step-3: Next, open the terminal in the VS code editor by clicking on Terminal > New Terminal.
Step-4: Open the command palette by pressing Command + Shift + P on a Mac or Ctrl + Shift + P on Windows and create a new project in the Web Lightning folder.
Step-5: Now, you must type sdfx & click on SDFX:Create Project.
Step-6; Name the project, for instance, LetsDowc and then press Enter.
Step-7: You will observe a new project in the VS code editor with a default project structure titled LetsDowc.
Step-8 Your file is created successfully. All you need to do now is Authorize the same with org. This step ensures that whatever changes you make to this folder are reflected on your Salesforce org. You can achieve that by connecting Visual Studio Code to your Salesforce org.
Creation of Lightning Web Component:
Step-1: First, open the command palette by hitting Command + Shift + P on a Mac or Ctrl + Shift + P on Windows.
Step-2: Here, type sfdx, and then search and select sfdx: create lightning web component.
Step-3: Choose the path where the Lightning Web Component is located. The directory path for such actions gets located at force-app/main/default/lwc with default.
Step-4: Next, name the Lightning Web Component as anything of your choice, for instance, HelloWorld and hit enter.
Step-5: Your first Lightning Web Component HelloWorld is ready to rock! You can verify your component by visiting the Iwc folder in the VS Code editor.
An alternate way of Creating the Lightning Web Component is using Salesforce CLI
You can also create a Lightning Web Component by entering the following command in the terminal only after ensuring that you are in the project folder:
| sfdx force:lightning:component:create --type lwc -n HelloWorld -d force-app/main/default/lwc |
Deploying the Component to Org:
Step- 1: Open Visual Studio Code and then select the default folder in your project.
Step-2: Right-click on the default folder and then choose the option SFDX:Deploy Source to org from the list of available options.
Step-3: After successful deployment, you will get this message in the dialogue box: SDFX: Deploy Source to Org successfully ran
Above steps are involved in the detailed procedure for creating Lightning Web Components on your Salesforce org. Lightning Web Components eases the process of creating single-page web applications. We hope that you would have now understood the complete process for creating Lightning Web Components.
It is arduous for a beginner to create Lightning Web Components, and that’s when you need to hire salesforce lightning development professionals. Have no clue where to start?
Contact us today as we offer the best salesforce lightning development services in India. Our experts provide accurate guidance on your project and efficiently delegate Salesforce lightning web components for your project.


